Character UV

The first part I have done was the Trousers. First I had to add a planner and delete one of the side. Then I had to do some UV separation on the side of the leg to the hip, move it. It was then a matter of unfolding and rearranging the UVs. Once that was done I then attached the two separate UVs and mirroring the modeling and flipping its UV and connecting them to the previous one. I did this way of laying out the UVs on most of the body parts on my character.
Trousers Belt UV Map


Shirt UV Map


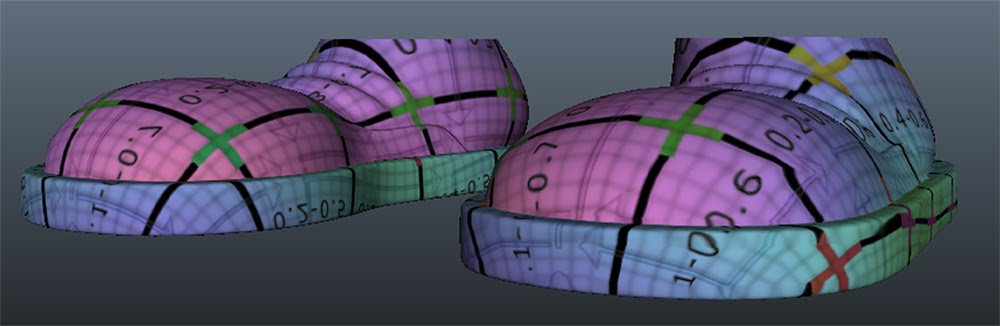
Shoes UV Map

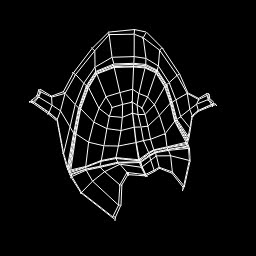
Head Eyebrow UV Map


On a side note while sorting out he UVs in the hair I notice4 i have messed up the geometry but I was able to fix it by moving the vertices's and adding a new edge.
Hair UV Map

I learnt that UV mapping is quite difficult to do but it is necessary to texture your character better.
No comments:
Post a Comment