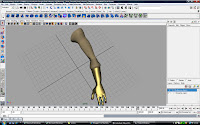
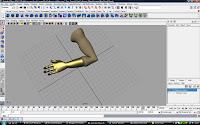
First animate an arm bending and and un bending, then create a nurb plane, rotate it 90 degrees and make a group.
Parent the group to the elbow joint rig. Next assign the arm mesh to the nurb plane. Next set key the position of the plane, the reason for this is when weight painting the influence of the arm mesh to the nurb plane it will have to stretch out the area of the mesh it has influence over given it an elbow like appearance.
Next to the weight painting around the elbow area of the arm mesh to the nurb plane, adding how much influence the nurb plane has over the elbow area.
Next create a nurb sphere and do the grouping and parenting process again but instead of parenting the nurb sphere to the elbow joint parent it to the shoulder joint.
Move the position of the nurb sphere near inside the center of the bicep area of the arm and change it's shape to an oval. Skin the nurb sphere to the arm mesh and pull the nurb sphere just about out of the arm mesh and start weight painting the bicep area of the mesh to the nurb sphere. Finally move the nurb sphere back inside the arm mesh and set key the nurb sphere moving to the edge and moving back in the center of the mesh when every the arm bends to give it a bulge like when a real arm bends.


No comments:
Post a Comment