Pages

Saturday, 16 July 2011

Maya Tutorial: Mental Ray Renders Unit 3 part 3

The Final part of the Unit 3 Maya tutorial is playing with the lighting of a rendered scene, the first is a HDR (High Dynamic Range) Render. A HDR is meant to give an image more colour variety which makes it more attractive. Here are some rendered out HDR images which uses an 'Image Based Lighting' to light up an area using an image.

HDR Normal Render


HDR Airbase Render


HDR Meadow Render


HDR Suburb Render


Next is to simulating a sun light with a sky to an island scene using a 'Pysiscal Sun Light' attribute. This part of the tutorial shows off the different controls in the attribute to manipulate the lighting of a sun and editing some extra its to it like increasing the contrast or playing with the red and blue colours. Also editing the quality of the shadow of a scene by giving it a hard or soft feel.

Physical Sun and Sky: Normal Render


Physical Sun and Sky: Adding Sun and Sky Render


Physical Sun and Sky: Moving Sun Render


Physical Sun and Sky: Increasing Sun Size Render


Physical Sun and Sky: Adding Haze Render


Physical Sun and Sky: Editing Red and Blue Colours Render


Physical Sun and Sky: Editing Saturation Render


Physical Sun and Sky: Normal Shadow Render


Physical Sun and Sky: Shadow Render


Physical Sun and Sky: Softening Shadow Render


In the final part in the lighting tutorial is to make a spot from where the light comes out from, this is call a portal light. I applyed a 'Pysical Sun and Light' attribute and added an area light. the render produce an nice calming atmosphere.

Portal Light Render


With this I am done with the Unit 3 Maya tutorial but I still have a couple left to do so please be patient. I believe the last tutorials are the car model and character tutorial.

Friday, 15 July 2011

Maya Tutorial: Mental Ray Renders Unit 3 part 2

The next unit 3 tutorials explore the uses of render layers and other rendering tools in Maya and editing the rendered out images in photoshop and after effects.

Basic Software Passes


Using Render Layers
Composited in Photoshop


Composited in After Effects


Using Render Layers 2


Using Contribution Passes and Mental Ray

Tuesday, 12 July 2011

Maya Tutorial: Mental Ray Renders Unit 3 part 1

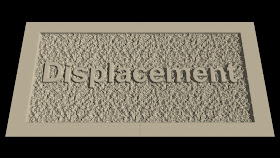
The unit 3 Maya tutorial has a bit more variety. The first part of the unit 3 tutorial teaches displacement maps. Displacement maps acts like bump maps but actually reshape the mesh. The next few images shows different ways of using displacement maps. The first two images shows different ways of applying a displacement map while the next three images shows the many uses of adding displacement maps to a mesh.

Displacement Map


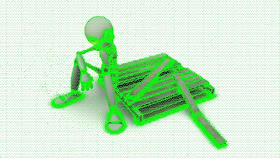
The second part of the unit 3 tutorial explain the usefulness of final gathering. They are used to calculate on which areas get more light and which areas doesn't which can be helpful if you feel that a certain area is not getting enough light or shade.

Render


Final Gather Points


Final Render


The last part of the unit 3 tutorial is global illumination, which is adding the right amount of light in a room to give it and producing a ray of light out of a window or any hole.
Global Illumination


All of the tutorials are very helpful in giving me ideas in rendering out scenes for my animation.

Maya Tutorial: Mental Ray Renders Unit 2

This tutorial looking at different forms of adding a blurr effect to a render.
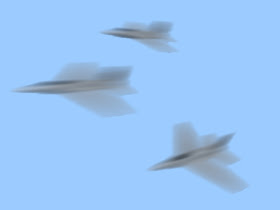
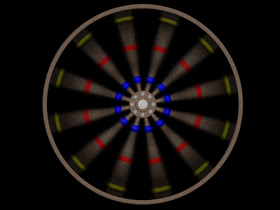
The first part is adding a blurr that make objects look like they are moving or showing depth. The first batch of images shows the process I was following in adding a blurr effect to the planes and cartwheel.


Planes


Cartwheel


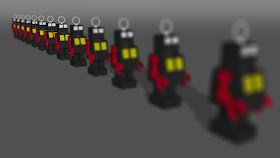
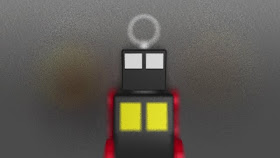
The final set of images shows the process in adding depth to objects that are far away or close.

Depth Process 1


Depth Process 2